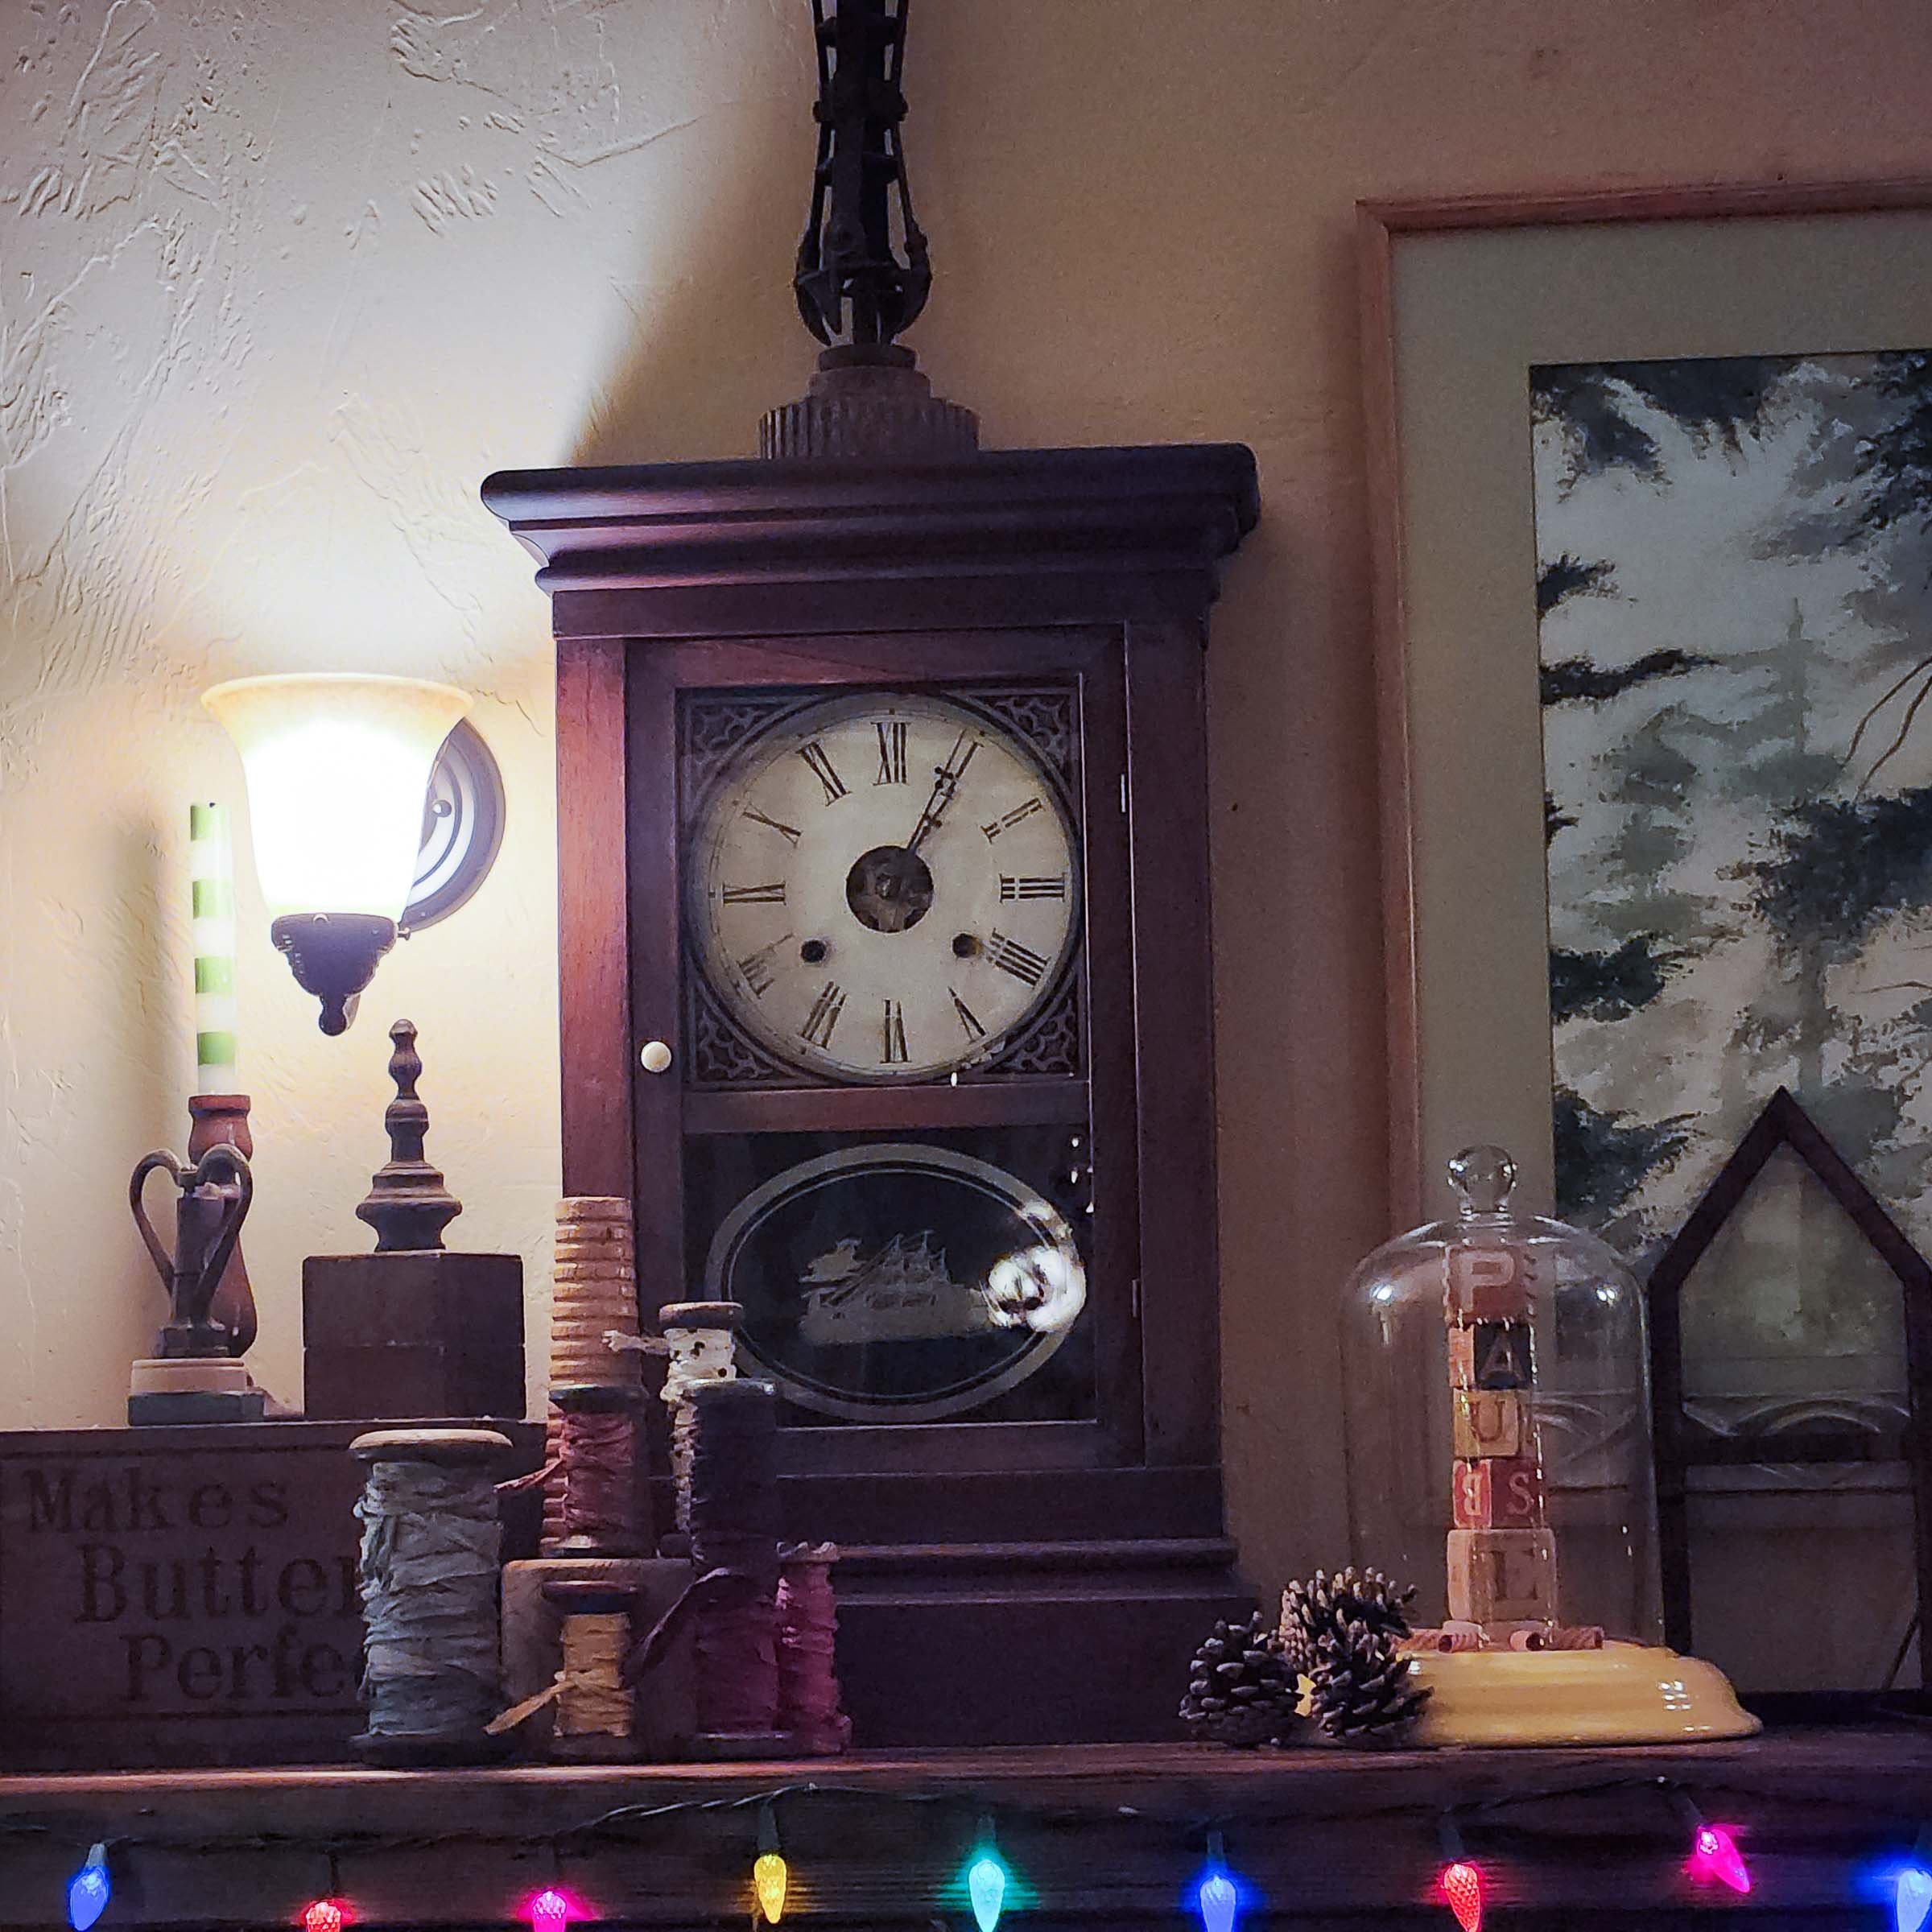
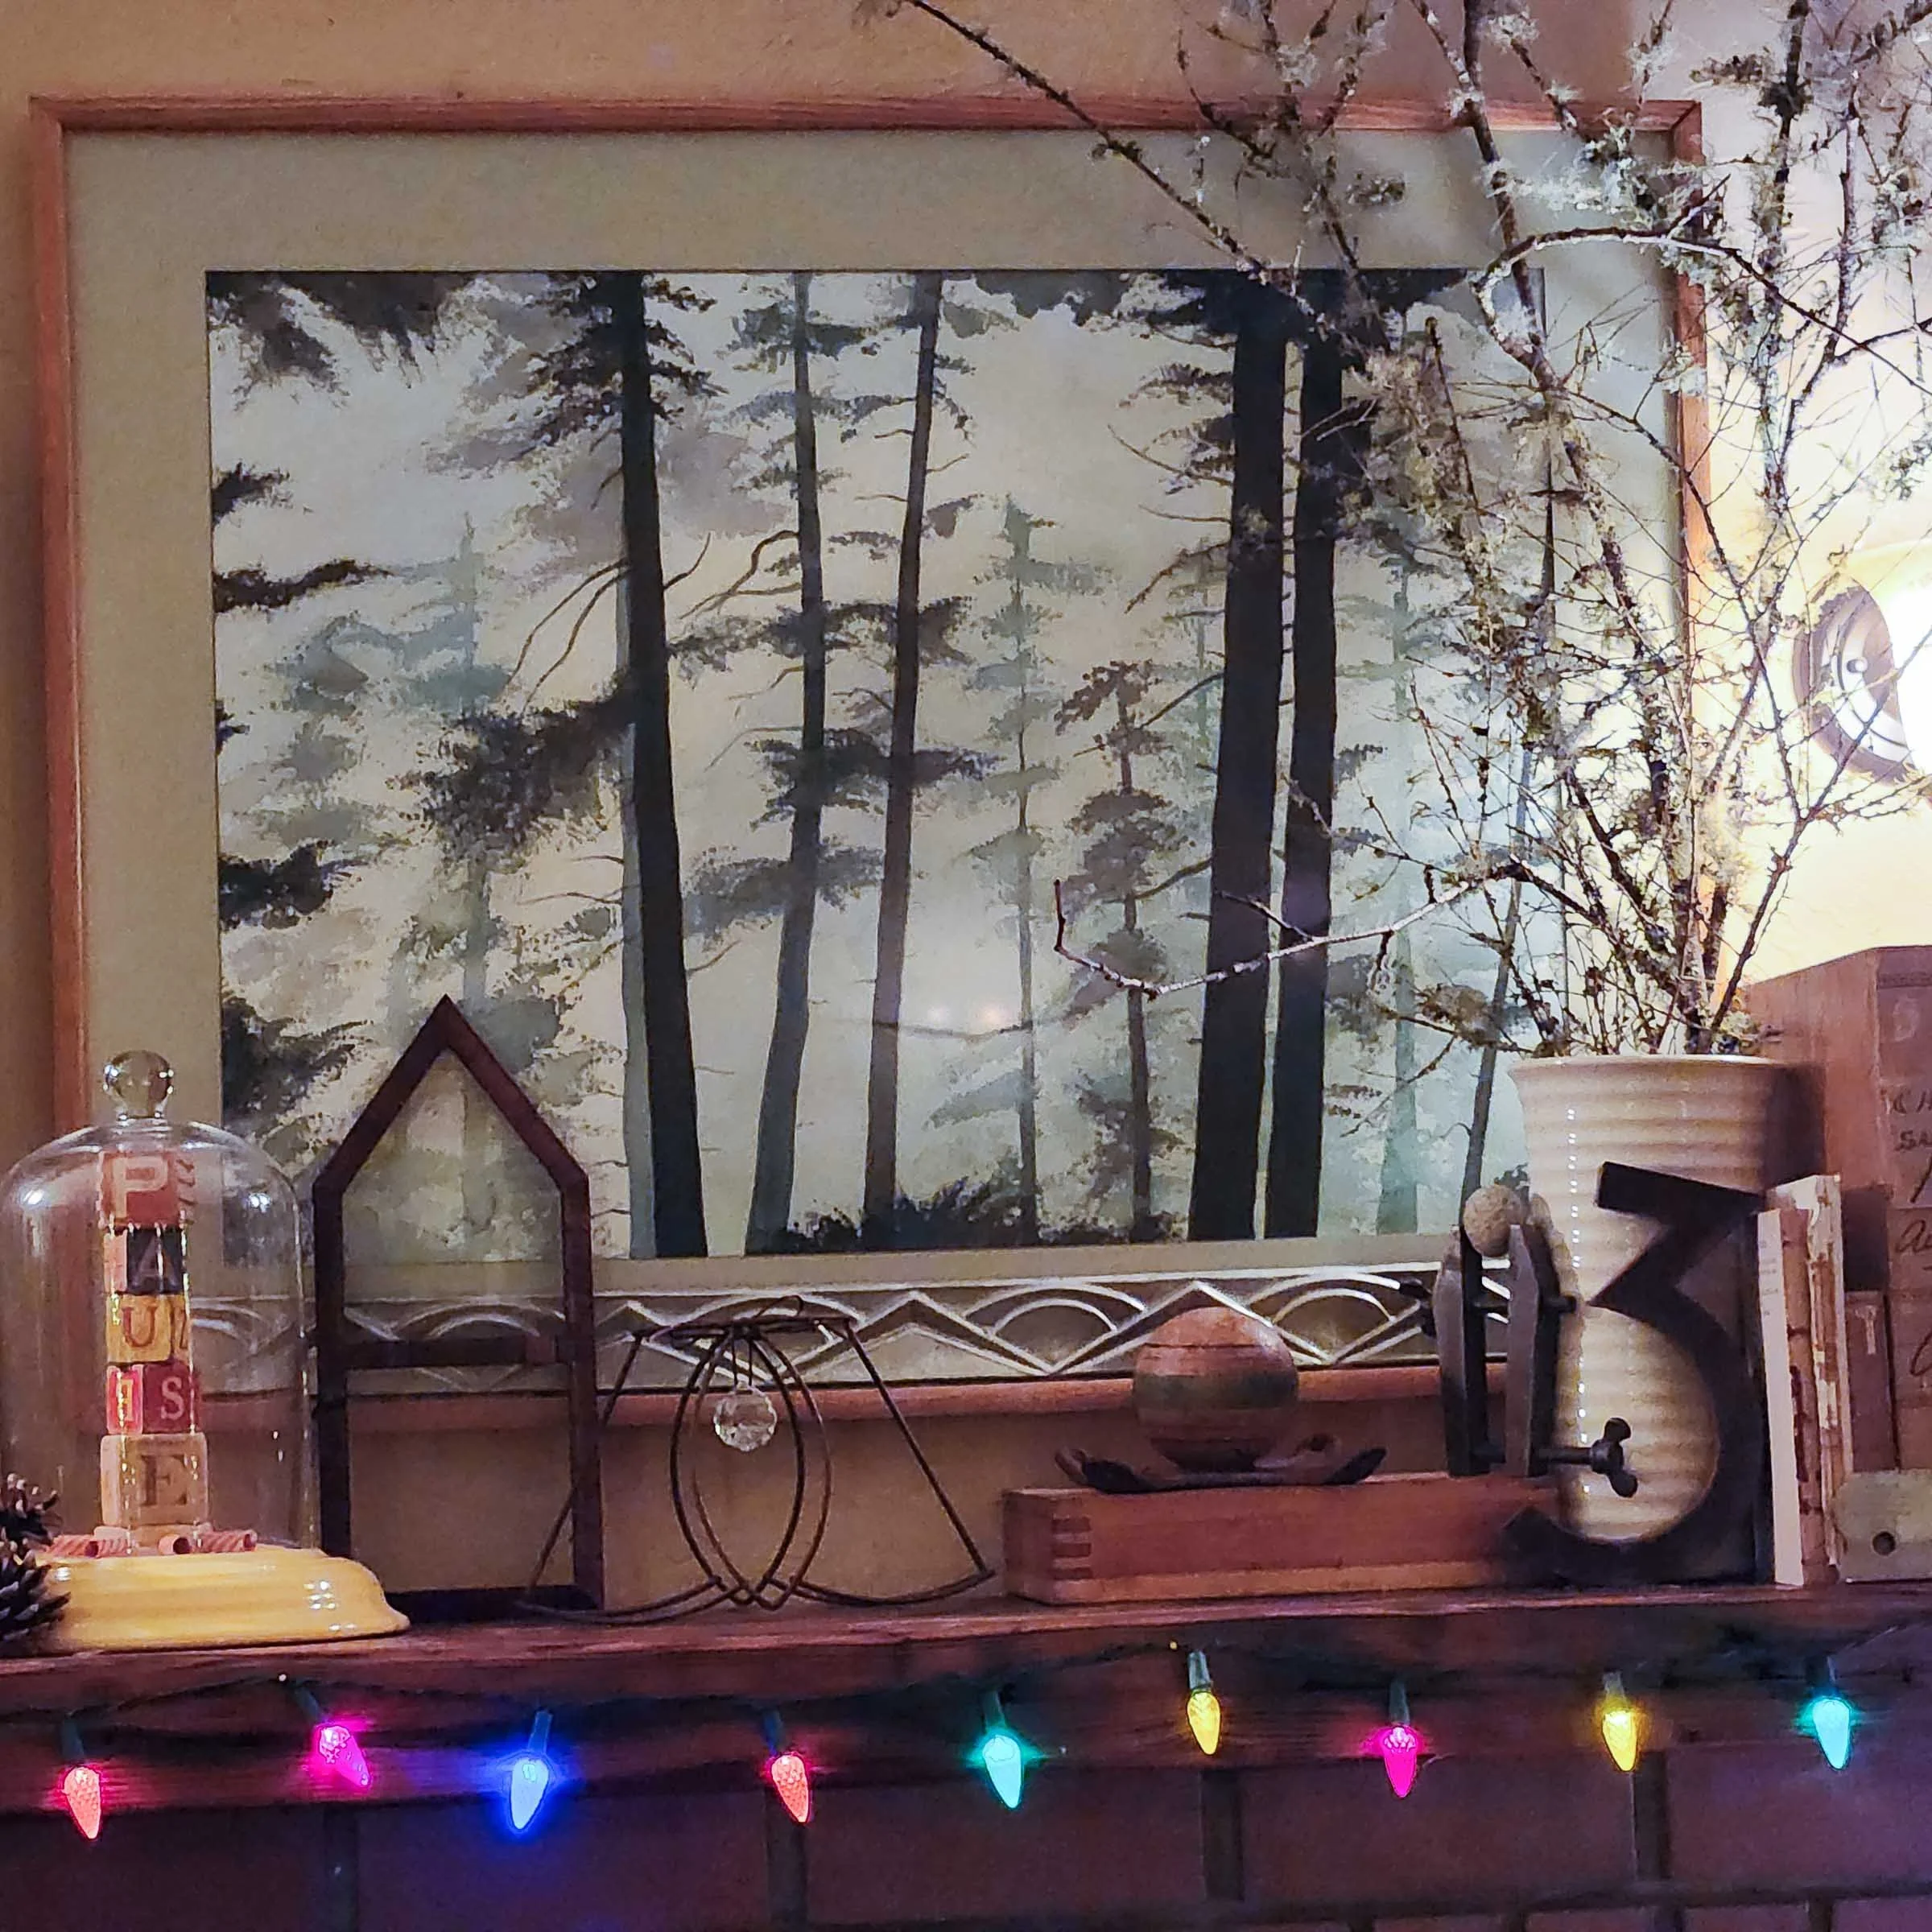
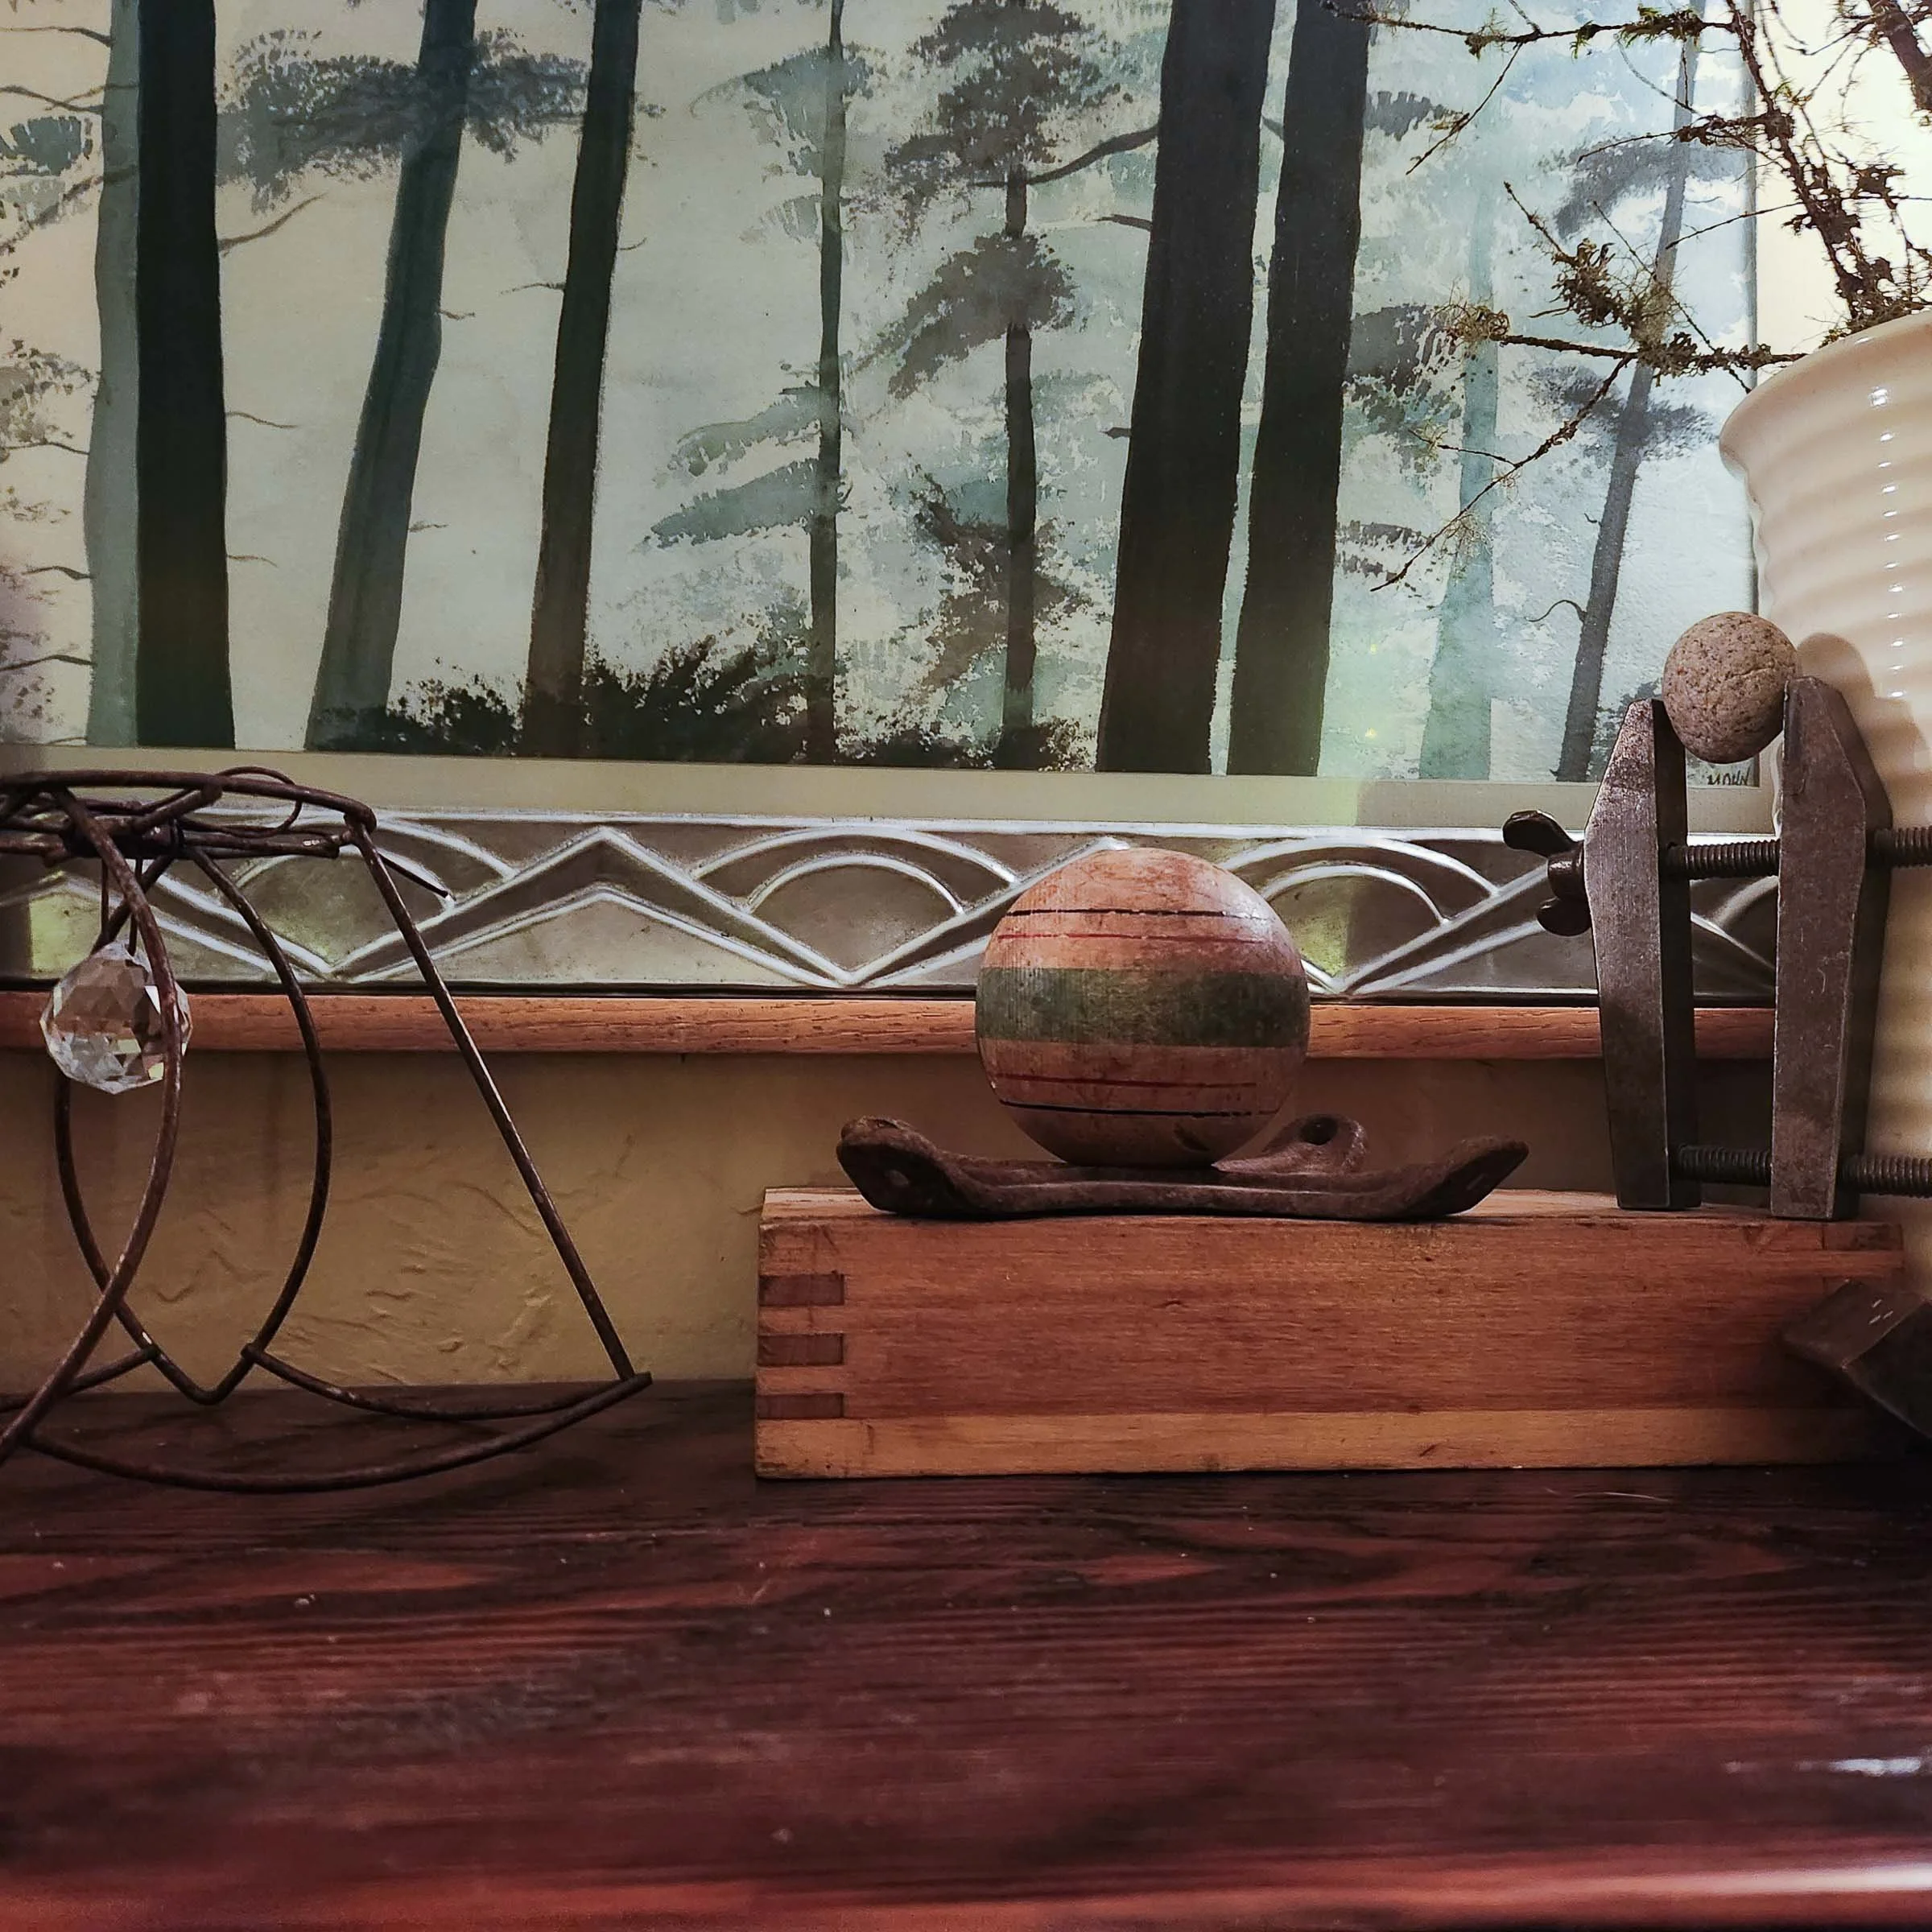
Sometimes the desire for change rises up in me like a hunger. I begin to look around and sometimes wander through the house, tape measure in hand. Such is the case when I get the urge to change the mantle display. Here is what I did for last winter.


Now that I have my new sewing studio, I got to work on a new project: transforming tshirts into a different garment. I like more fitted clothes than the standard tshirt, so when I saw the Costa Rica shirt with the great graphics, I knew I could do something fun.

The before tshirts.
When I was in high school, I sewed most of my clothes. It was exciting to put fabric and pattern together and I delighted in being able to have control over my own wardrobe. I took a tailoring class to learn to work with wool and signed up for 4H to enter what I made into the fair. But I never learned to work with knit fabrics.
When I discovered the work of Alabama Chanin, I suddenly felt empowered to take up hand sewing…that would get around the issue of thread tension, stretching and all the many other unknown challenges of knits. It also meant that I didn’t need a fancy serger with too many spools of thread!


I love before and afters: the boring one bedroom house that becomes a charming cottage with new paint, a picket fence, some flowers. Or the pallets upcycled into headboards, tables and bookshelves. I had transformation in mind when I saw this cabinet at Second Use in Seattle.
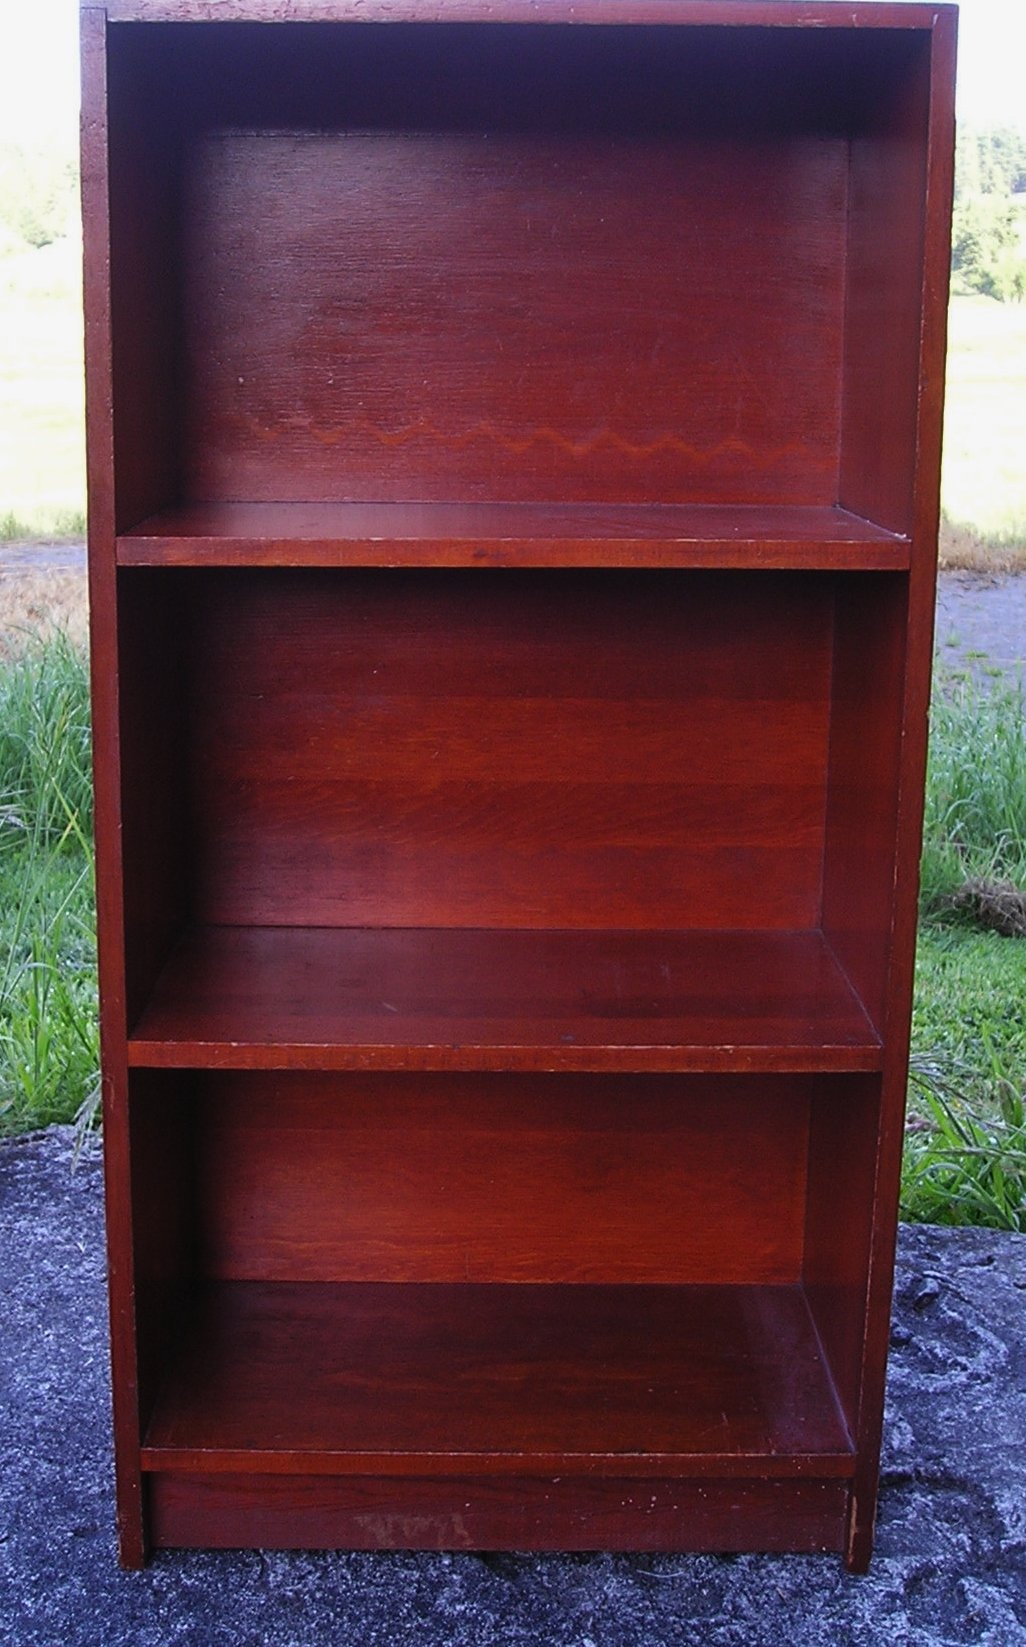
Once I found the cabinet, I set it aside and went looking for more embellishments to upcycle and that's when I found this lovely striated trim board with hints of paint along the edges.

Perfect. I started a sketch in my mind and when I got home, I completed it.
And that's when the project got interesting. I rarely sketch to scale, and so my theoretical ideas don't always work. I had drawn a drawer on top and a wide base on the bottom with castors, but once I got the trim boards on , I saw that it would be too tall and skinny so I let go of the drawer idea and busied myself with the parts I knew until new ideas sprouted.
First I added galvanized strips which I salvaged from an upholstery project.

Then, I wanted a nice "step" between the sides and front. That's when the idea of brass zipper teeth arrived. I pulled one zipper apart and stuck down the half with double stick tape, then placed the galvanized siding along that.

Now it was time to decide on the top. I wandered into the garden shed where I keep my wood scraps looking for a top, and found an old shelf with rounded corners and interesting details in the wood grain. It was much wider than the cabinet, so another series of problems presented themselves. Should I cut the shelf down? Find some brackets? I added the two brass corner pieces that I rejected for another project and then tried out these ideas:

Then I drew more sketches and decided that I wanted a bigger curve. I spent hours sitting in my desk chair looking at my progress, trying to engineer creative solutions. Originally, I bought a 3/16" rod that was 12" long. I flattened the ends and curved it (picture above), but it was too thin and short. The long overhang required something more substantial. Next, I bought a 1/4" x 36" rod and cut it in half. That didn't work at all. The end cracked when I attempted to pound it flat and the 18" was too short to bend. So I took the second 36" rod and found that it had a nice, natural bend if I used the full length. But how could I hold it in place?
I set to work on the top embellishments while I pondered solutions for the rod. That required even more sitting and looking. And sitting and looking. And more sitting. And a long break.
Coming back to the project with an open mind, I discovered that I could use the brass curtain rod holders for the curved rod, one style for the bottom, and one style for the top. And then another style for the decoration on top.

And here is the final result.

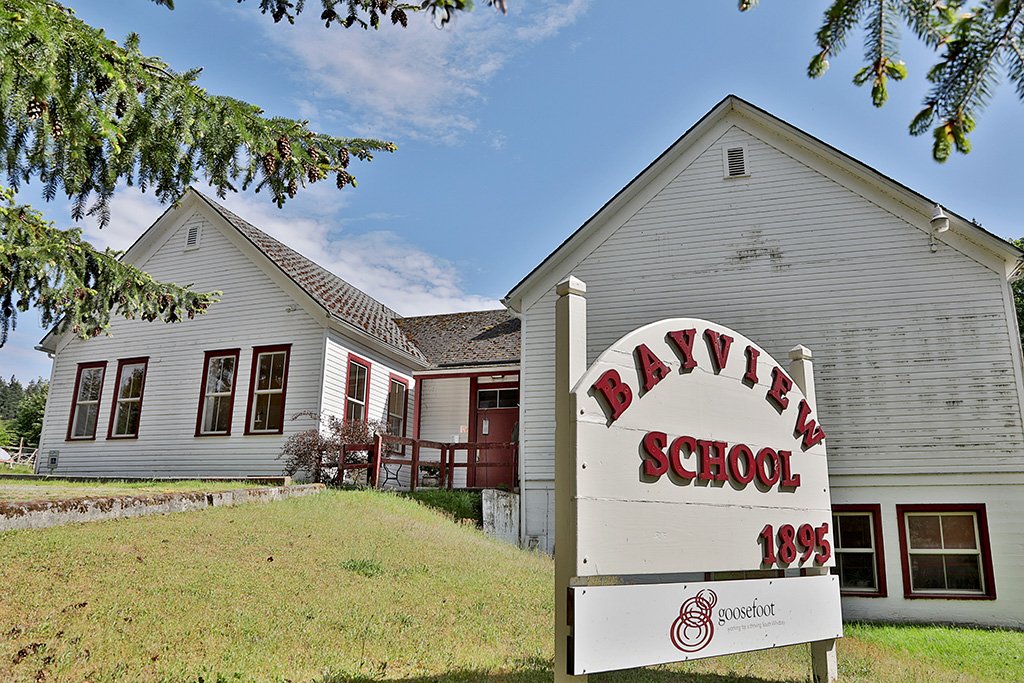
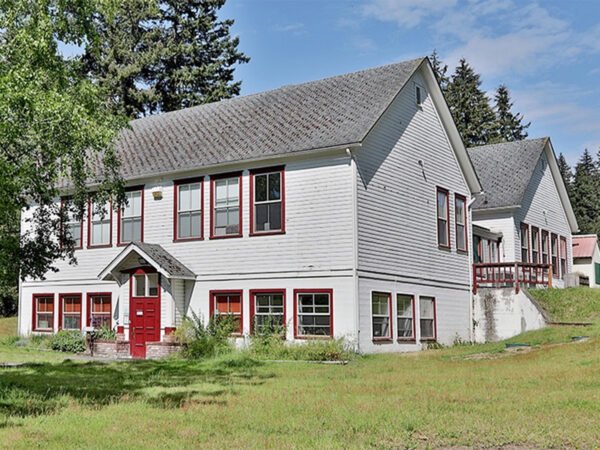
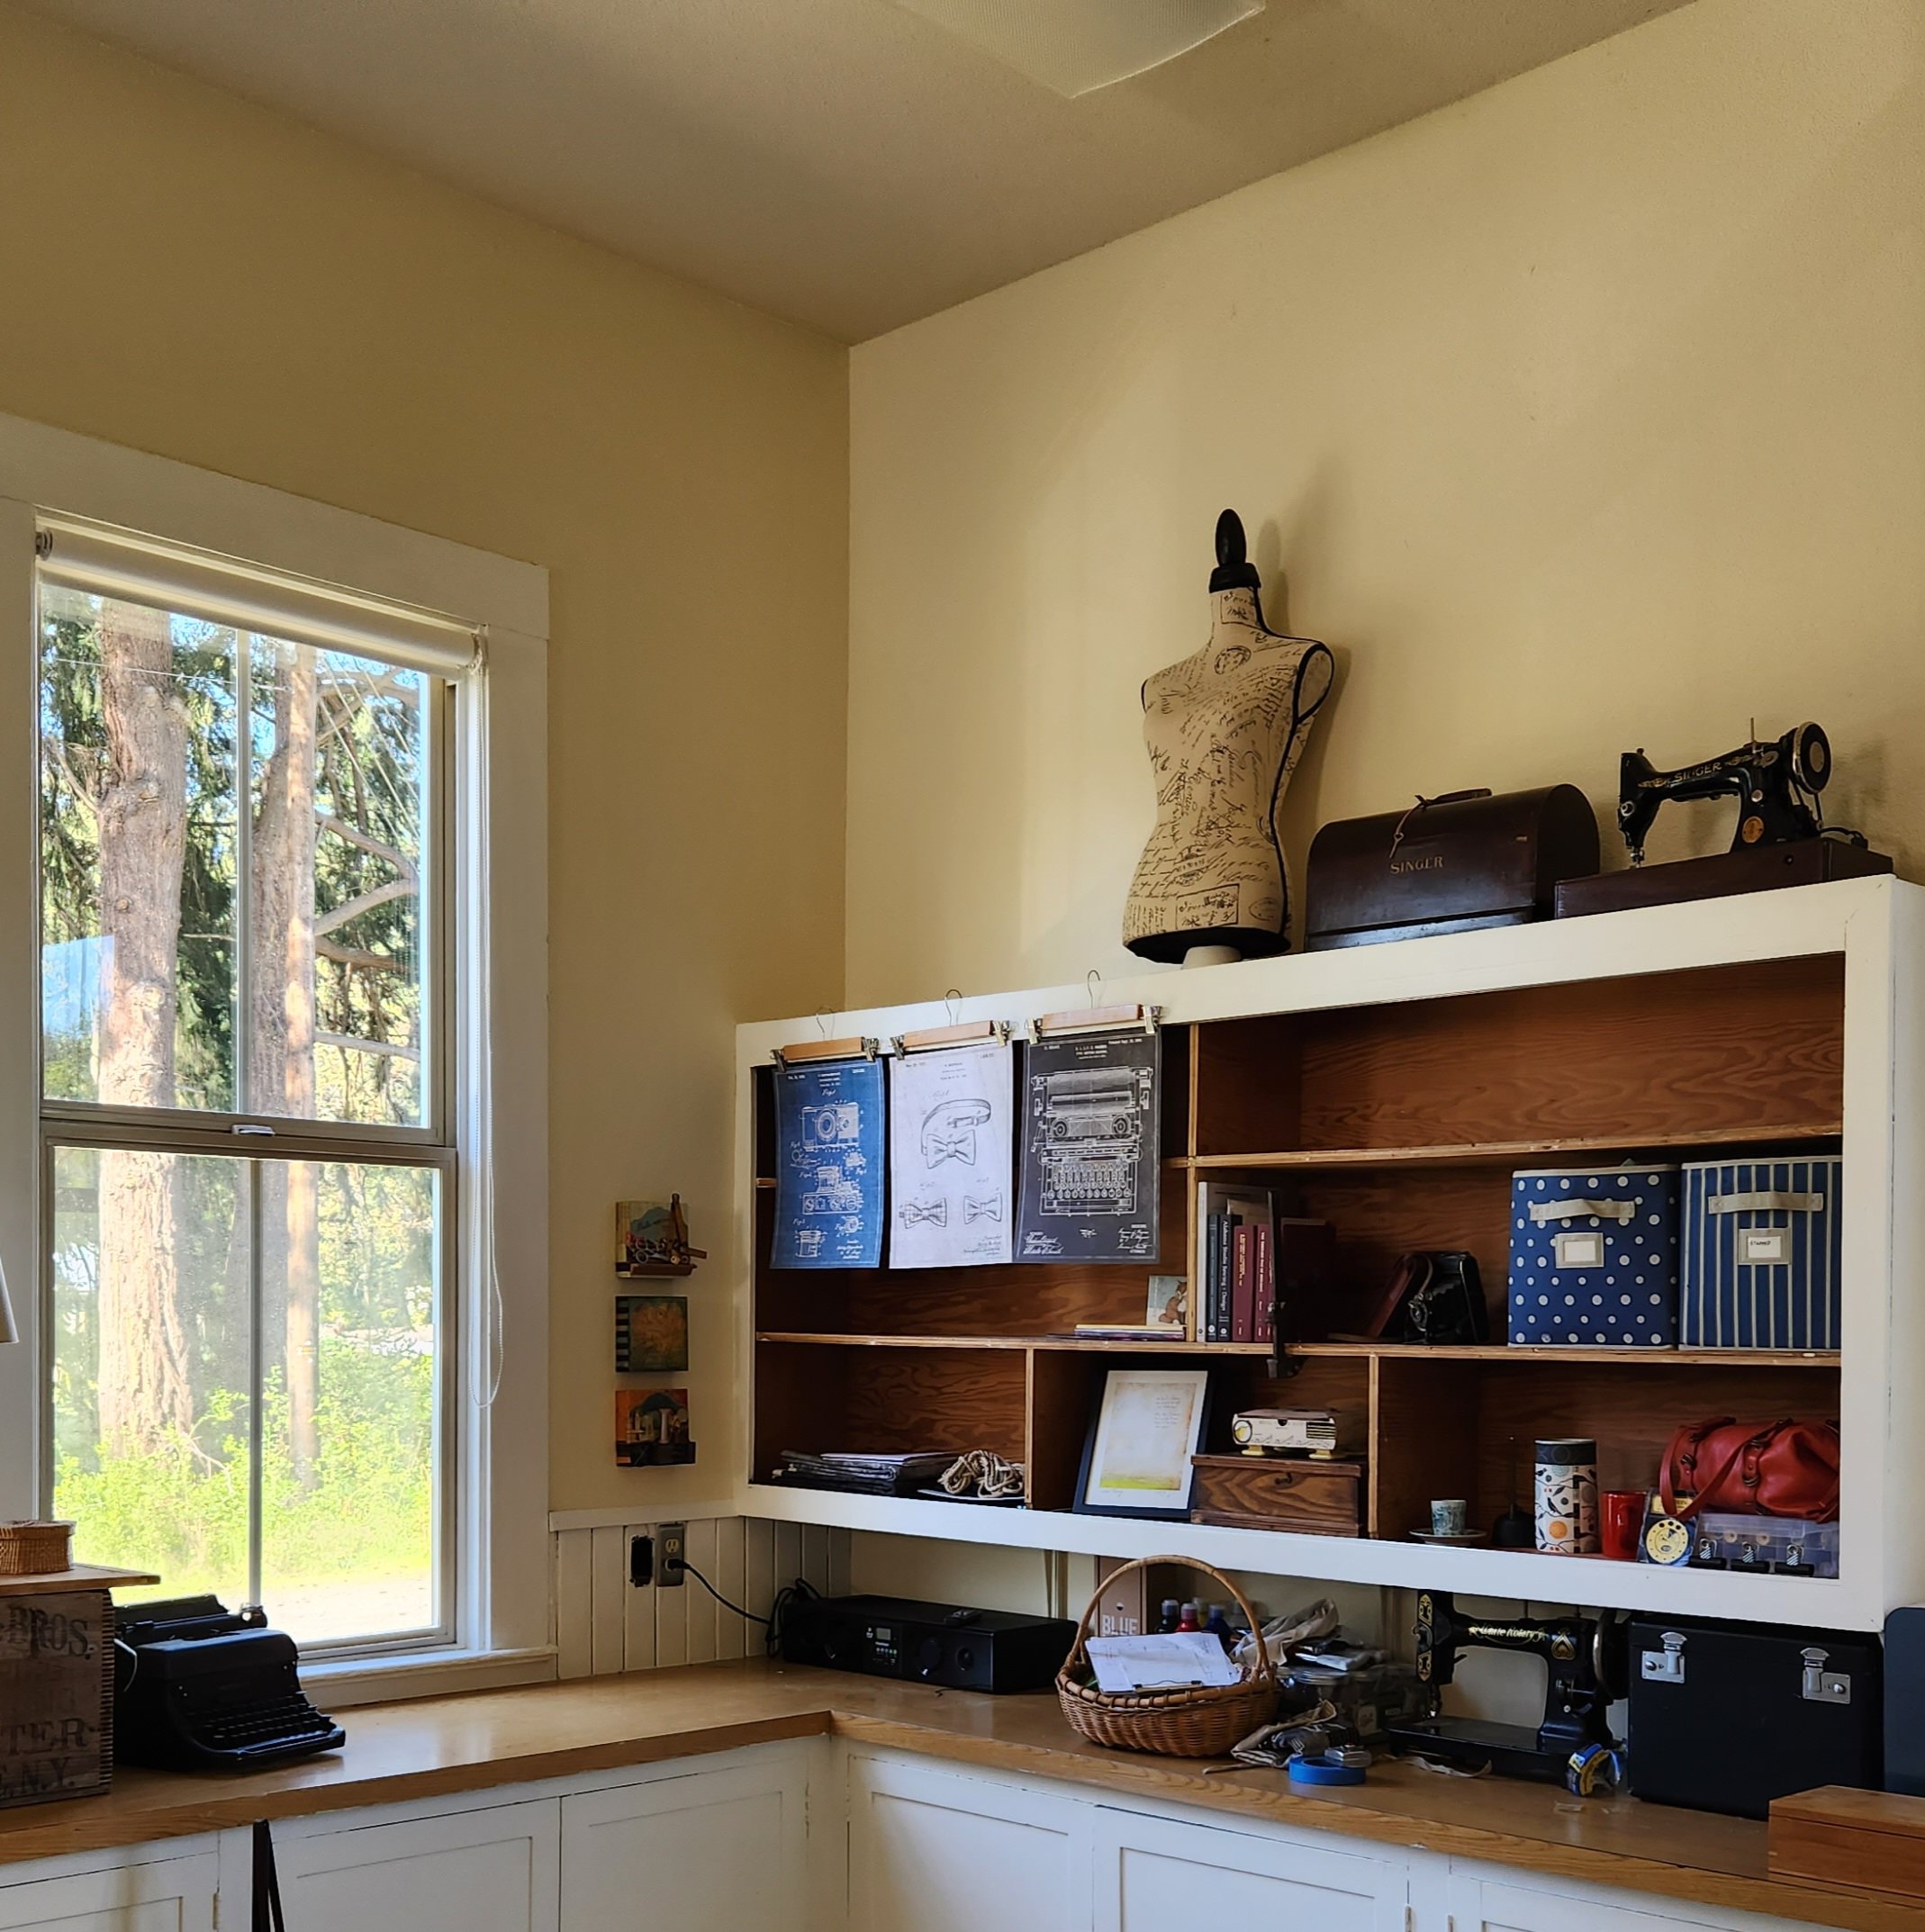
In early spring, I was offered the opportunity to share studio space in the old Bayview School in Langley, Washington. I was familiar with the place because I had been doing some bookkeeping there and this particular space had long ago stolen my heart so I didn’t hesitate to say yes.
I share the studio with two women, both therapists and we each have our own days of the week so solitude is also part of the deal. Delicious.
My end of the room has three tall windows, the sink, and an island which I am using as support for one end of my work table. Here a is the before picture.

I wanted to create a unique table top that went with the theme of sewing, so I started by gluing down vintage pattern pieces in a random way. That was actually the challenging part! So I took my time…two or three each day. From a collage class by Leslie Rottner, I learned about using a credit card to smooth the tissue and that trick was a lifesaver! After that, three coats of water based polyurethane, some fir trim and walnut plugs for the screw holes.


I stewed for weeks on how to support the end opposite the island. I wanted to use the same materials as the table top…walnut and vertical grain fir…and create something simple yet elegant. I finally found my inspiration on Pinterest. Since my supply of walnut was limited to a few pieces, I built my design around that…repeating with the walnut plugs and curving the bottom most inserts for aesthetics.


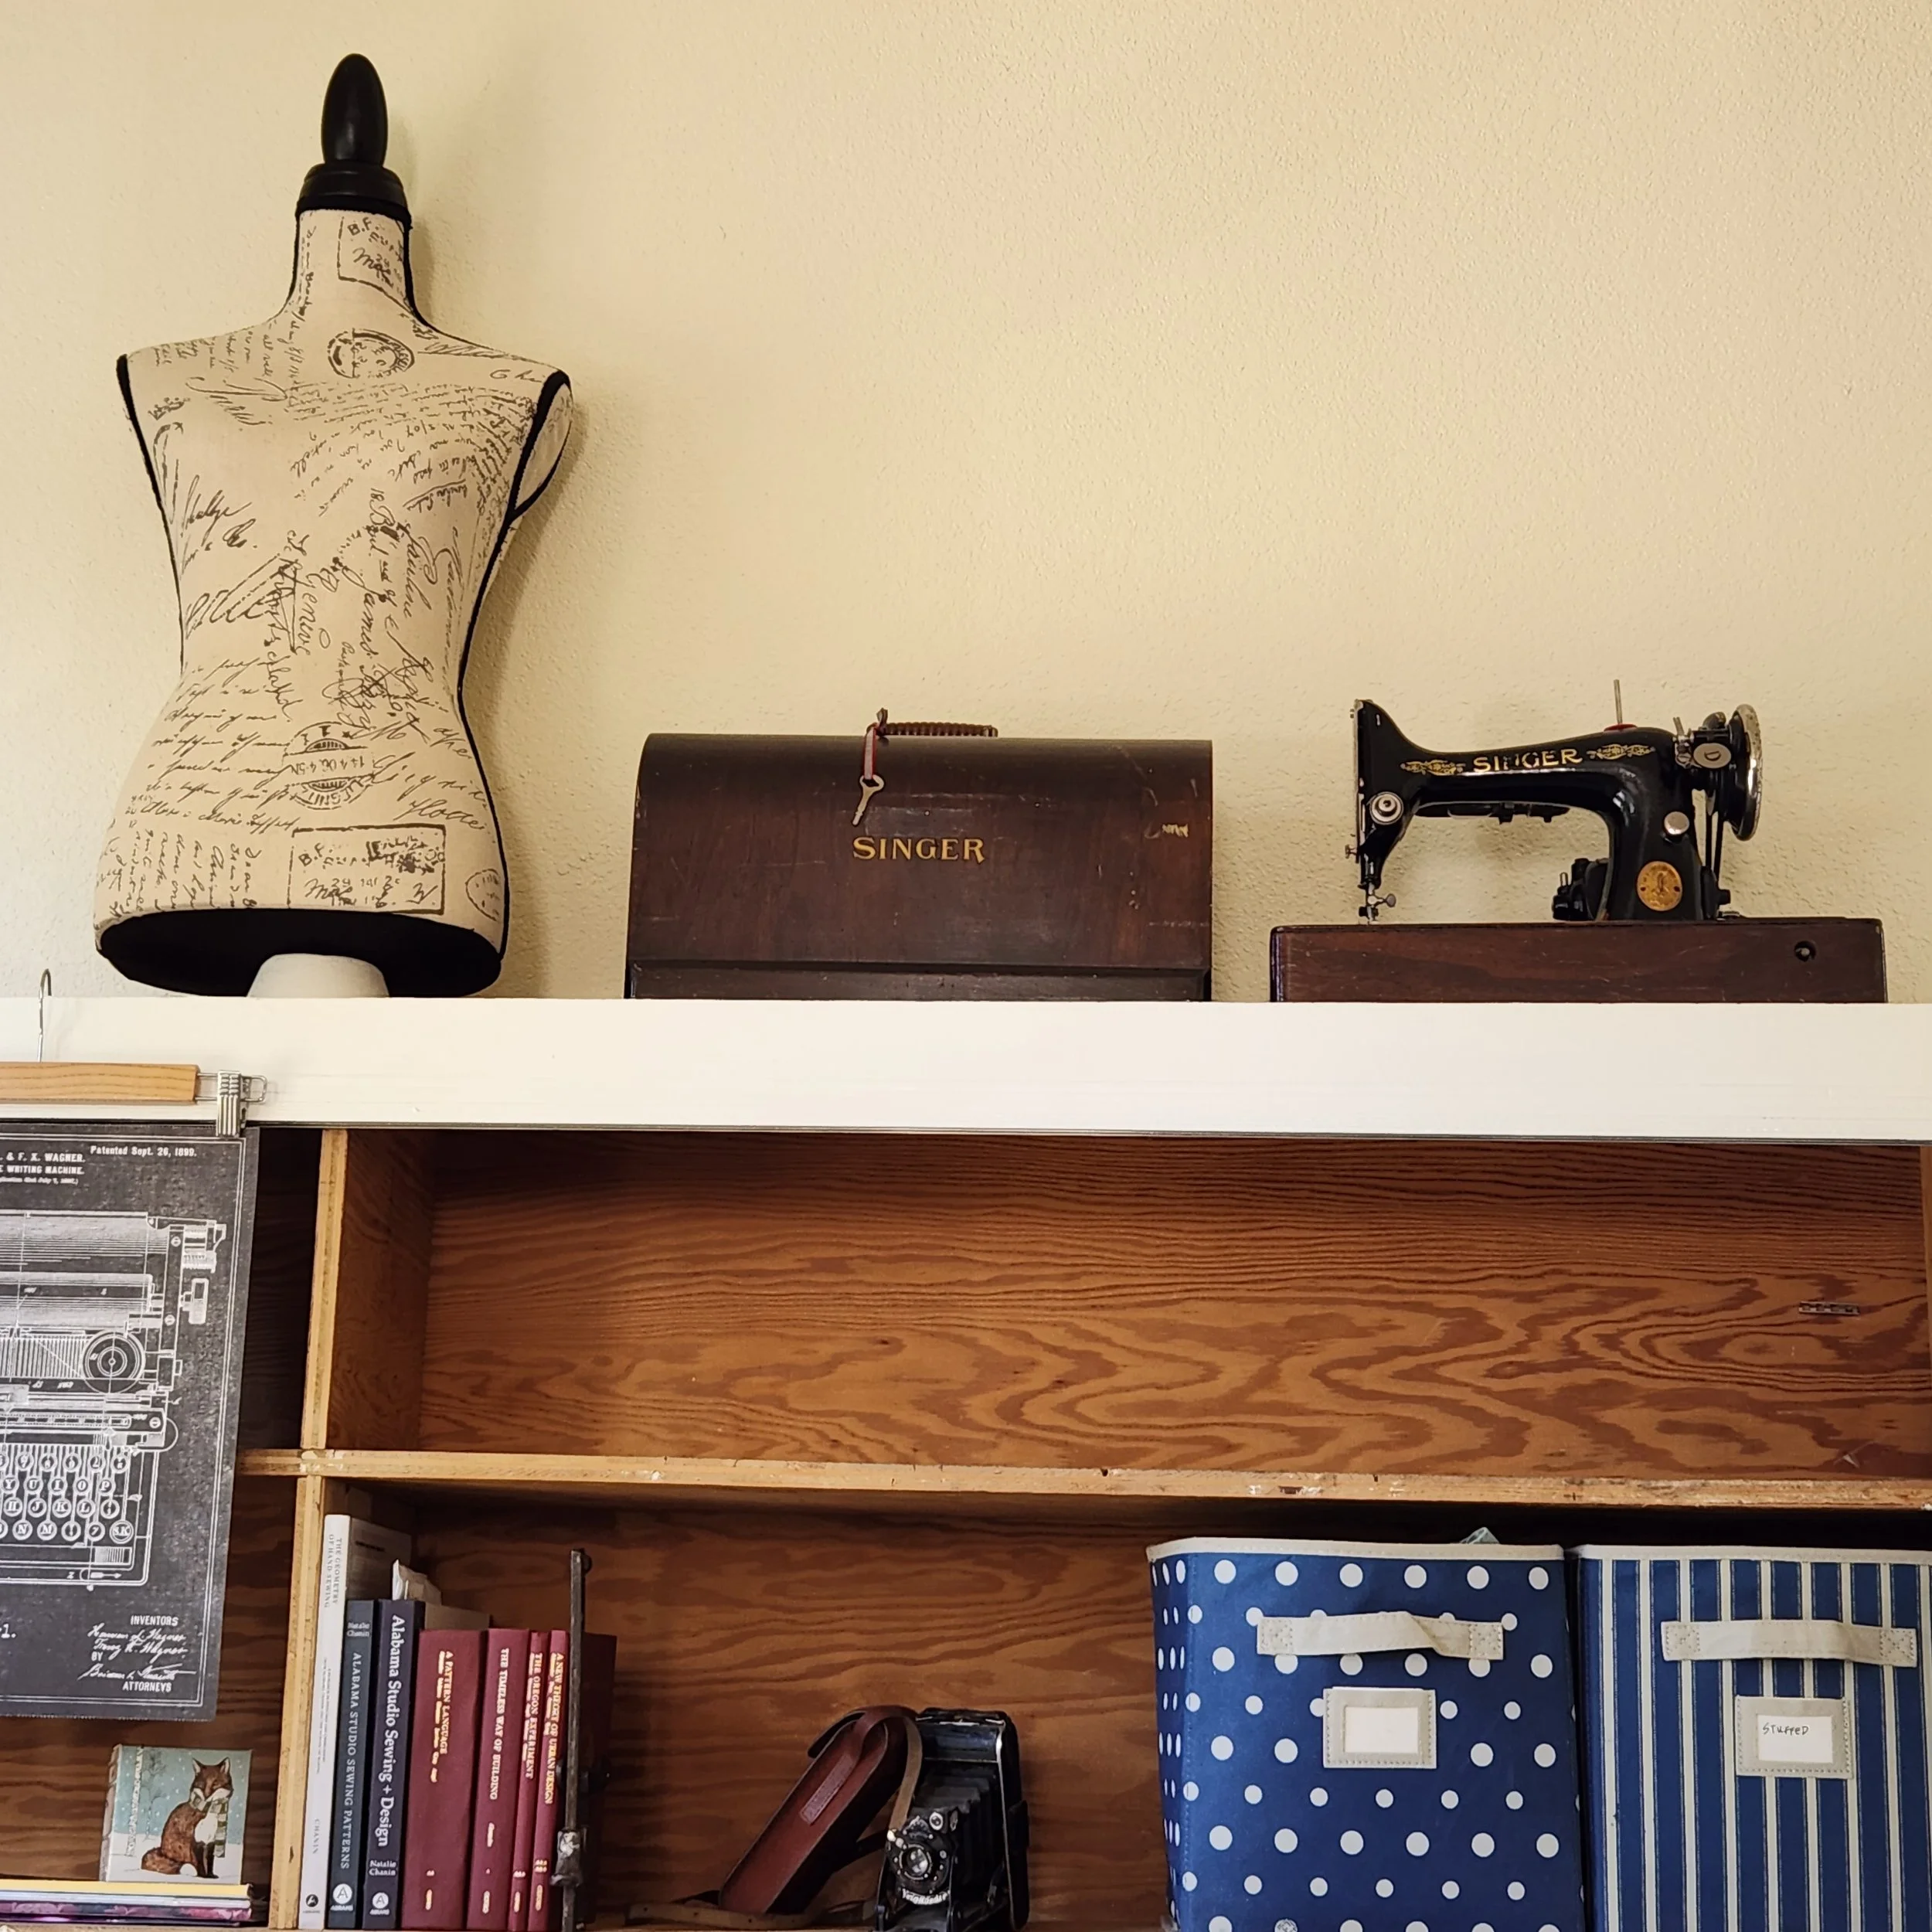
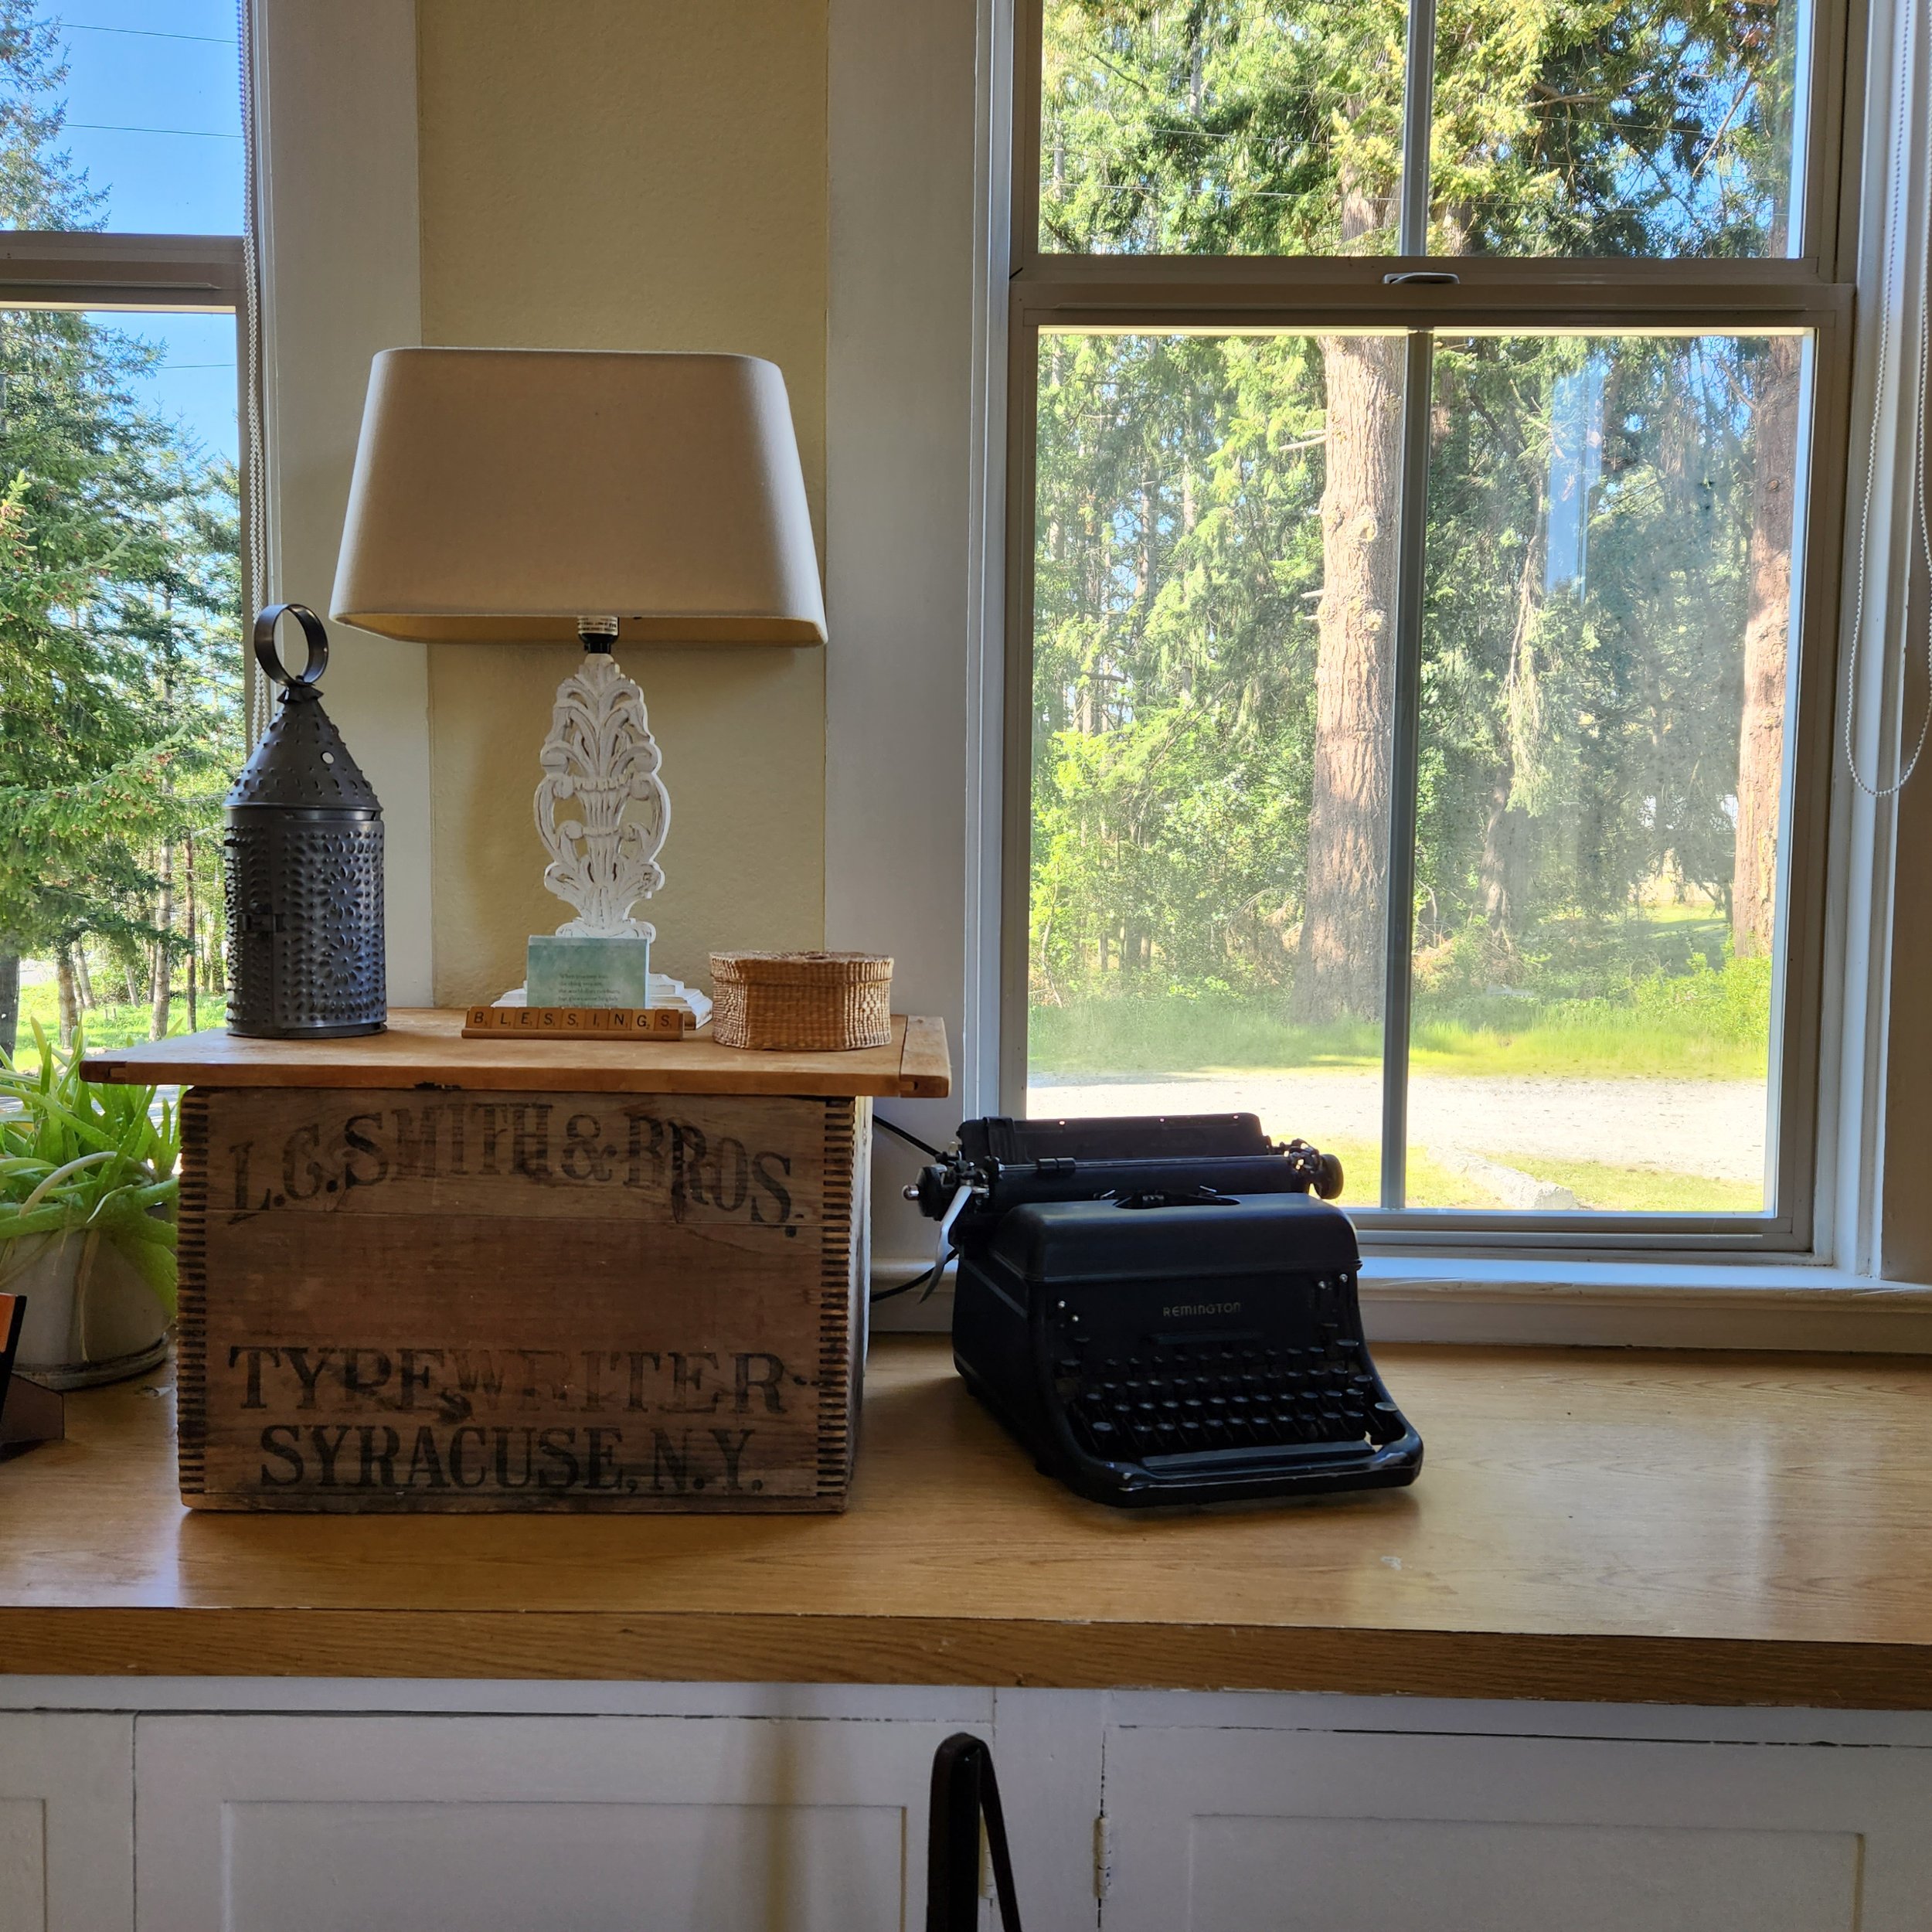
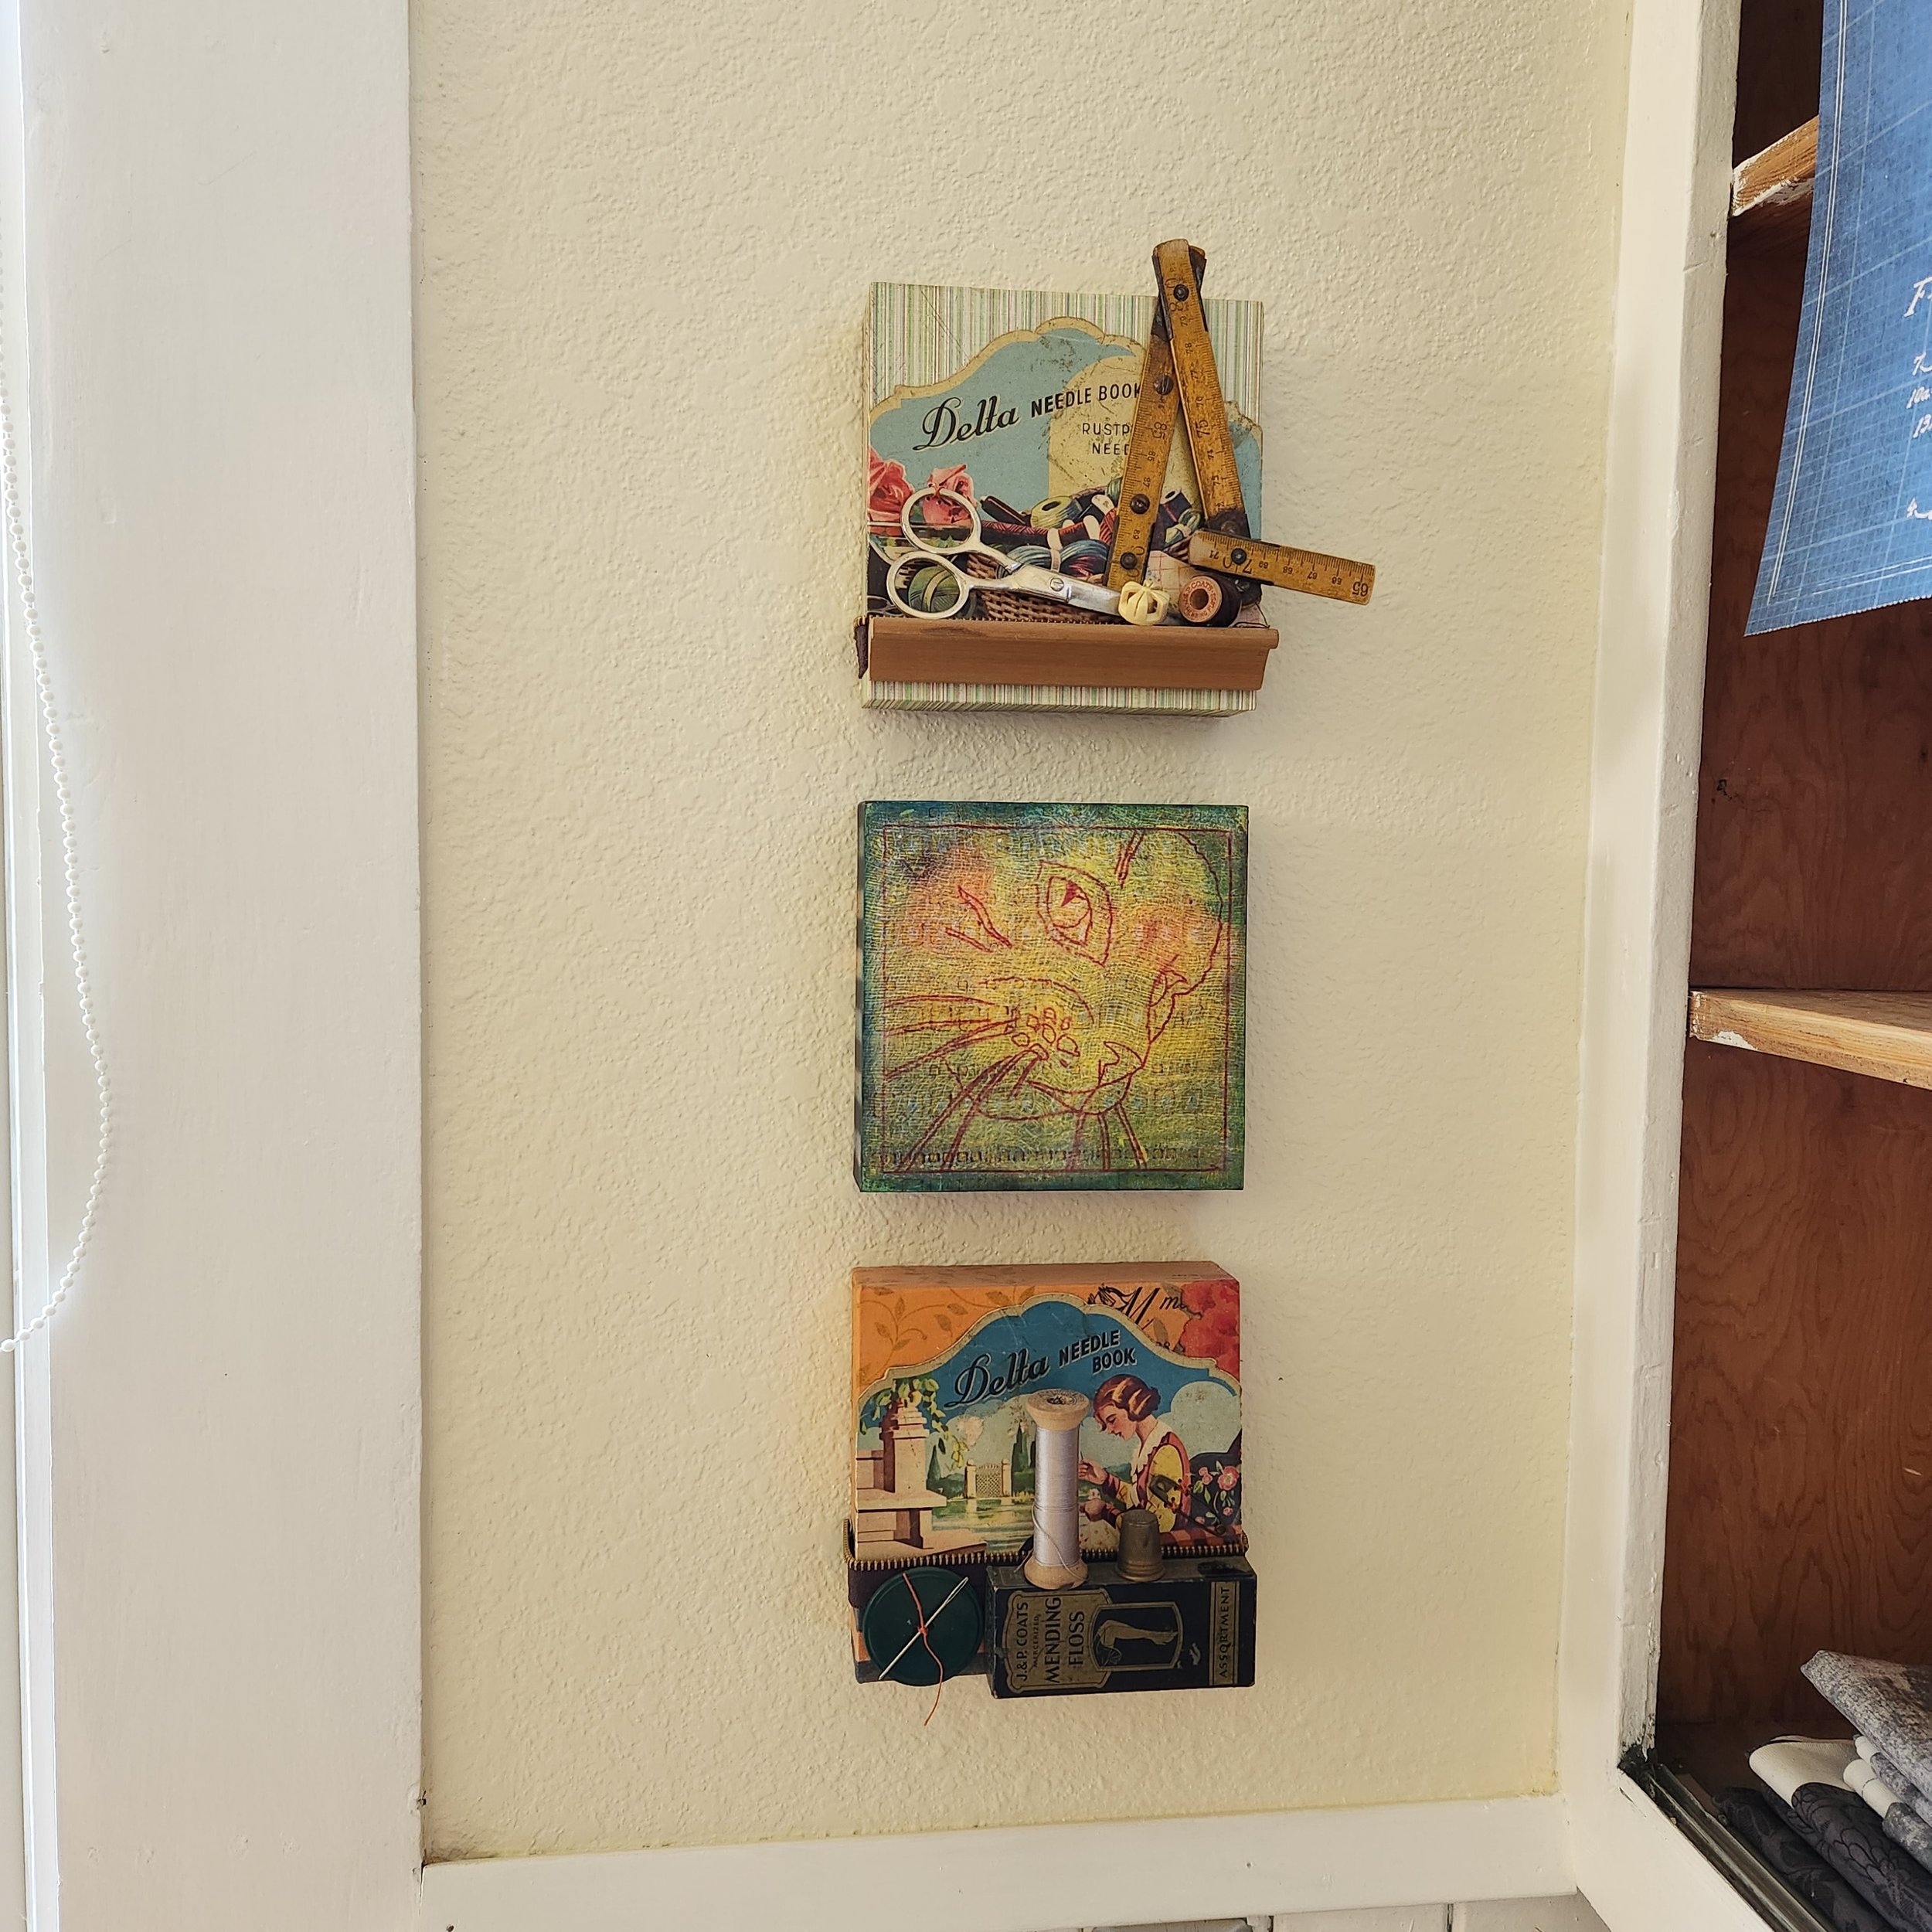
Here are pictures of the finished studio.
Where did the fall go? Seems like we went right from summer into winter!

Now that summer is almost over, I’m feeling some nostalgia for lazy days on the water…